Legacy prerendering is deprecated: here’s the schedule, and what to know.
On December 16th we announced the deprecation of our existing prerendering feature - in favour of two new prerendering extensions that provide much improved visibility and control, which you can choose from.
Here’s the deprecation timeline, by plan:
- Free plans (legacy or credit-based), legacy Starter - January 27, 2026 (previously: January 20)
- Personal, Pro (legacy or credit-based) - February 17, 2026
- Enterprise and specialized plans - March 17, 2026
How does that impact me?
This section will guide you in:
-
First, finding out which projects you have that may be using the legacy feature.
-
For the projects that do - whether they actually need prerendering (many don’t).
-
How to migrate the ones that need it - and what to do about the ones that don’t (basically: no action is required).
Check which projects use legacy prerendering
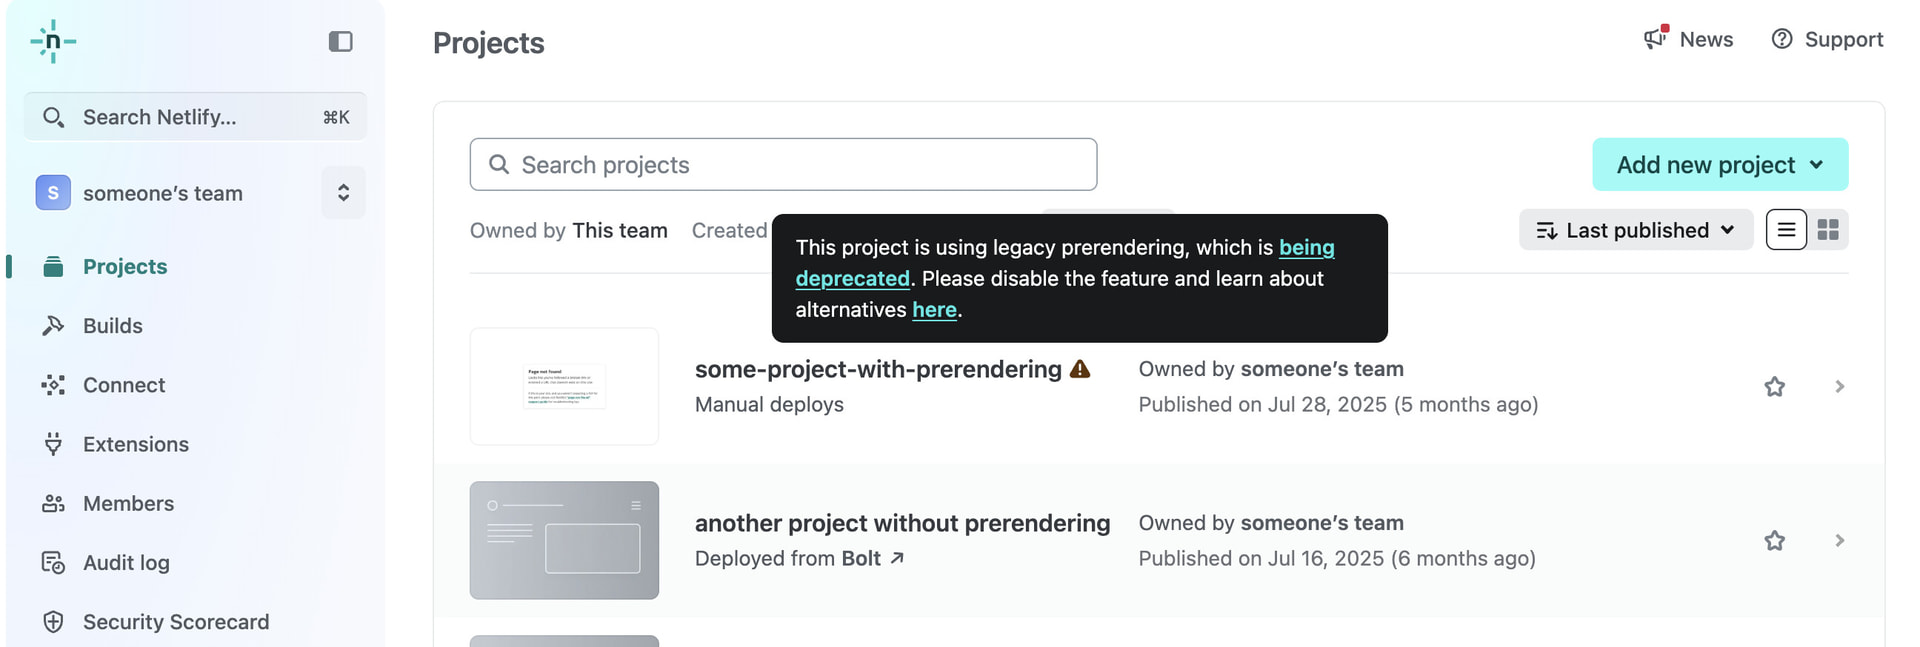
In your account’s Projects page, any project currently using the legacy prerendering feature will have a warning icon with a tooltip. This warning also appears in the overview page of any relevant project.

The tooltip provides a direct link to the relevant configuration section for disabling the feature. But before you do, please read on to learn whether a migration is necessary.
Verify which projects actually need prerendering
Not all sites require prerendering. In many cases we’ve seen, prerendering was turned on by customers for sites without any need. In such cases, prerendering only adds complexity.
You can evaluate the need for your site using this handy tool:
https://do-you-need-prerender.netlify.app/
If the tool indicates prerendering is not actually needed: No need to do anything! Legacy prerendering will soon automatically be disabled for the site on the deprecation date above, needing no action from you.
If one or more of your projects needs prerendering: Continue to choose the migration option that’s right for you.
Migration options
Option 1: Netlify Prerender extension
Best for: simple, self-serve setups
-
Community support
-
Good configurability for most common needs
-
Uses Netlify Edge Functions and Functions
-
Full visibility via logs and metrics
Note: requires an up-to-date Node.js version (22.x) to be used in the project.
Option 2: Prerender.io extension (for complex and high-volume setups)
Best for: business-critical, proxy-based, or complex configurations
-
Vendor-level support
-
Advanced configuration and reliability
-
Recommended for Enterprise use cases
How to migrate
Step 1: Install your chosen prerendering extension
The installation is needed for each team you have (most customers have only one).
Installation does not automatically start to apply prerendering to any project though - you decide for which projects to enable it.
Step 2: Disable legacy prerendering for your projects
The warning tooltip next to any relevant project names will direct you to the relevant configuration page, or you can manually go to: Project configuration → Build & deploy → Post processing → Prerendering
In the configuration page, click Configure to disable the legacy prerendering feature. This applies immediately.

Step 3: Enable the extension for your projects and deploy
For each project that requires it, enable prerendering and save the configuration. Here’s what do to for Netlify’s own extension:
Ensure the project is using an up-to-date Node version (22.x)
Projects older than one year may have a previous Node.js version - that has already reached End-of-Life (EOL) and known to cause issues with up-to-date headless browsers.
In your latest deploy log, you can see the actual Node.js used in the Initializing section:

If the Node.js version is older than v22.x.x, this is because an older version specified in either:
- Project Configuration → Build & Deploy → Dependency Management, or
- In an environment variable (
NODE_ENV) under Project Configuration → Environment Variables, or - In a
netlify.tomlconfiguration file at the root of your project
Enable the extension for the project

-
From a specific project’s page, click on Netlify Prerender Extension at the bottom-left of the page.
-
Check Enable Prerendering, then scroll down to click Save.
-
Trigger a new deploy of your project from the Deploys page
Once the extension is enabled and the new deploy is live - crawlers, AI agents, and preview services will receive prerendered HTML, while normal visitors continue to receive your JavaScript app.
To monitor: you will be able to start seeing any prerendering requests in your Function & Edge function logs, and view metrics in Function Metrics or Observability (depending on your plan).
What happens if I do nothing?
In any case, regular site visitors using a browser would not be impacted in any way.
After the deprecation date (which depends on your plan), Netlify will stop serving specially pre-rendered pages to crawlers and AI agents. It will simply serve content normally to all client types.
For a site which does need prerendering, that may hurt discoverability in search (especially in current AI search/answer engines, e.g. ChatGPT).
The available extensions provide that functionality, with self-serve configuration and visibility options that were not available before.
Learn more
Need help?
If you have questions or need assistance with migration, contact Netlify support.